Navigation
Installing the Plugin
Contact Us Page is available for download for free from wordpress.org. It can also be installed directly from your a3 dashboard.
Getting Started
Once you have the plugin installed and activated it adds its own dashboard to your wp-admin sidebar dashboard menu.
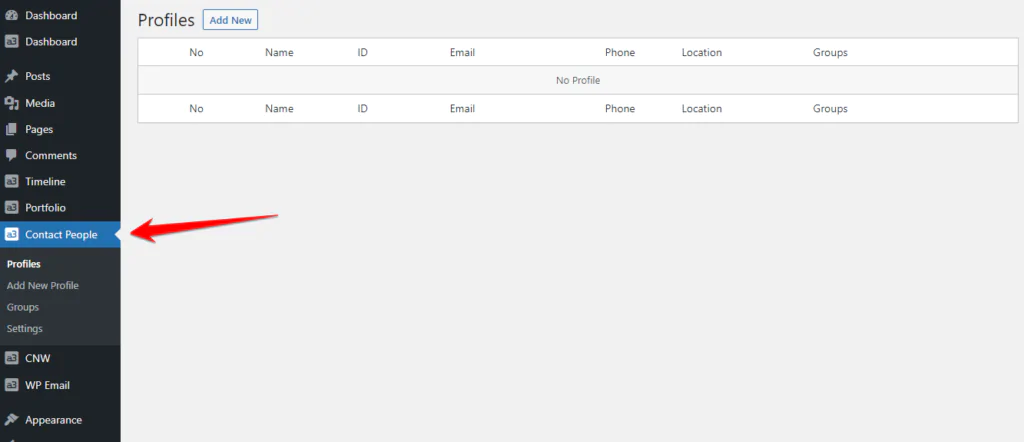
The first thing to do is to create some Profiles. Once that has been done we can then look at how the Contact Page is display on the front end.
Add a new Profile
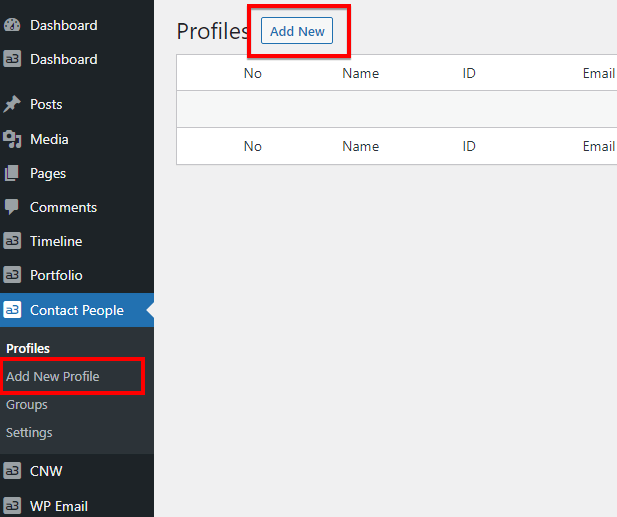
Contact Page allows you to create an unlimited number of Profiles. Items are WordPress custom post types and hence if you know how to create a WordPress post then you know how to create a Contact page Item which a few extra features.
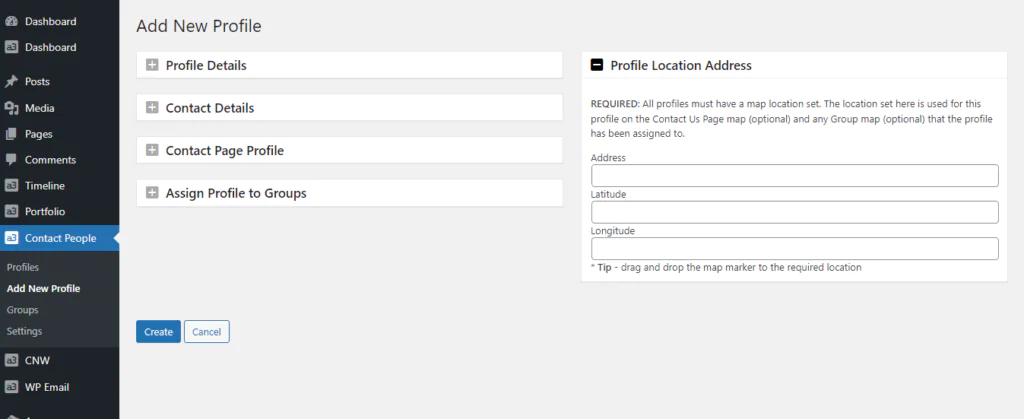
Every Profile created automatically shows on the ‘Contact Us Page’.
Profile Details
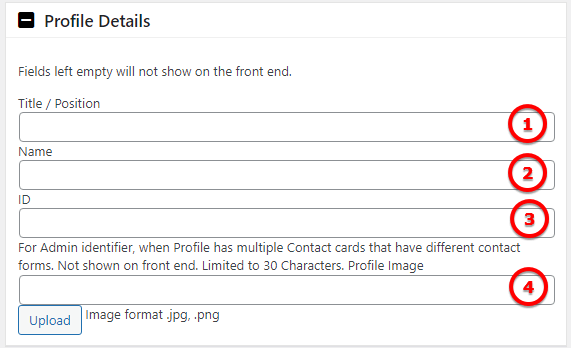
Image Legend
1. Title / Position – Example: CEO, Managing Direction, Dispatch, Customer Support, Chief Cook, Bottle washer…
2. Name – Add a name
3. ID – For Admin identifier, when Profile has multiple Contact cards that have different contact forms. Not shown on front end. Limited to 30 Characters.
4. Profile Image – Upload a image for the profile card. Image format .jpg, .png
Contact Details
Image Legend
Contact Page Profile
Image Legend
Assign Profile to Groups
Image Legend
Profile Location Address
Image Legend
Groups
Create Groups, assign Profiles to Groups and insert the Group into any Post or Page by Shortcode.
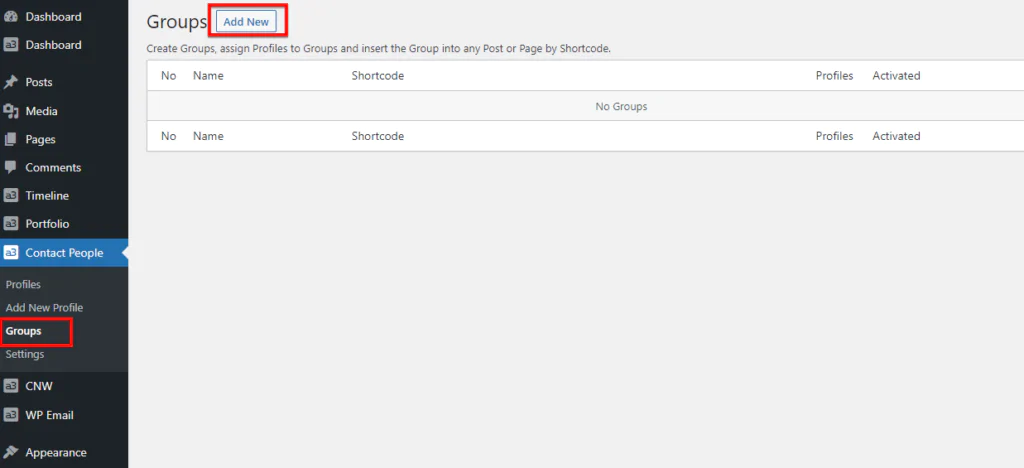
Add new Group
Image Legend
Group Google Map
Image Legend
Settings
From here you can style and set up the setting for cards, map, email and widget.
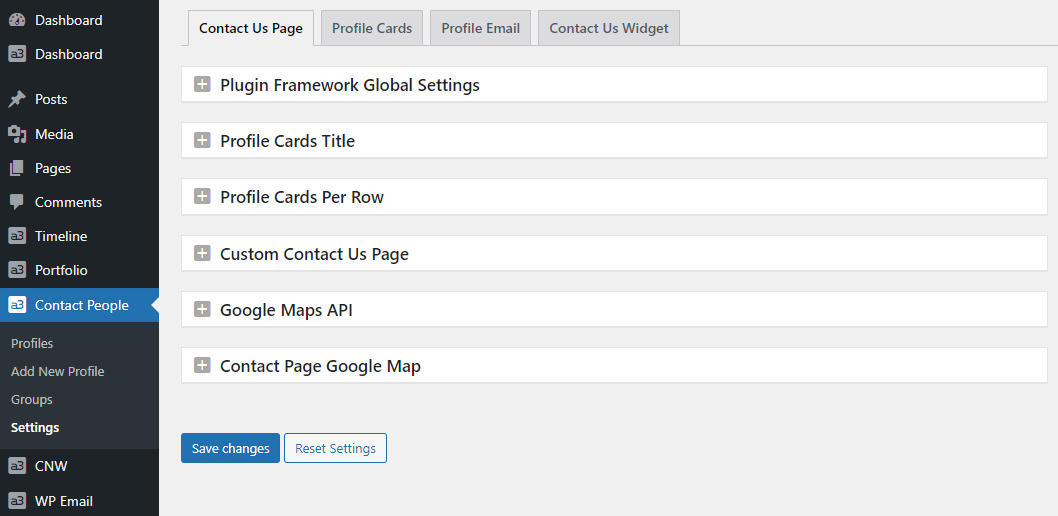
Contact Us Page Settings
Plugin Framework Global Settings
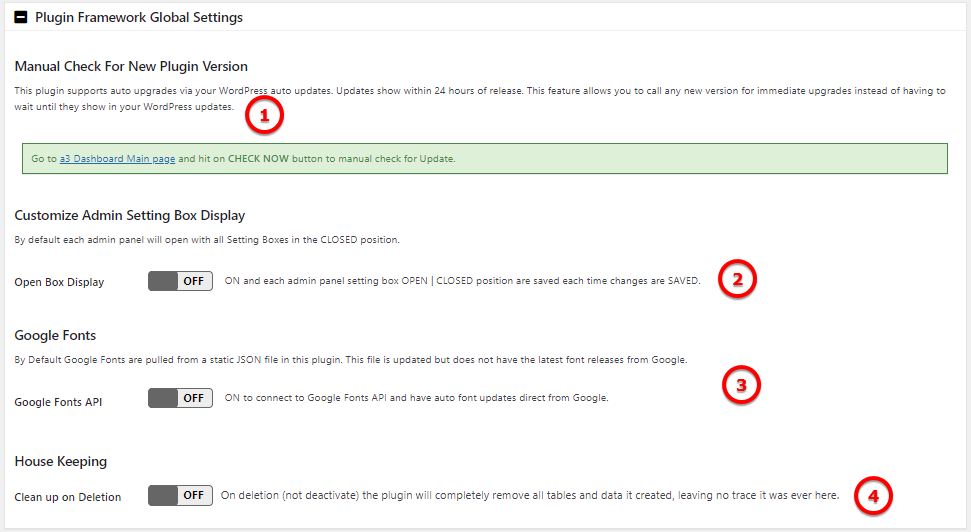
Image Legend
1. Manual Check For New Plugin Version – This plugin supports auto upgrades via your WordPress auto updates. Updates show within 24 hours of release. This feature allows you to call any new version for immediate upgrades instead of having to wait until they show in your WordPress updates.
2. Open Box Display – ON and each admin panel setting box OPEN | CLOSED position are saved each time changes are SAVED.
3. Google Fonts – By Default Google Fonts are pulled from a static JSON file in this plugin. This file is updated but does not have the latest font releases from Google. ON to connect to Google Fonts API and have auto font updates direct from Google.
4. House Keeping – On deletion (not deactivate) the plugin will completely remove all tables and data it created, leaving no trace it was ever here.
Profile Cards Title

Image Legend
Profile Cards Title – Title that shows below the map and above the profile cards. Leave Empty and no title will show.
Profile Cards Per Row

Image Legend
Set how many cards will show per row. Max cards allowed is 5.
Custom Contact Us Page

Image Legend
A “Contact Us Page” was auto created on activation of the plugin. It contains the shortcode [people_contacts] required to show the contact us page. If it was not or you want to change it, create a new page, add the shortcode and then set it here.
Google Maps API

Image Legend
1. Switch ON to connect to Google Maps API
2. Enter your Google Maps API Key and save changes, or go to Google API Credits to create a new key. The key must have the Geocoding API, Maps Embed API and Maps JavaScript API as a minimum.
Contact Page Google Map
Broke layout
Profile Cards
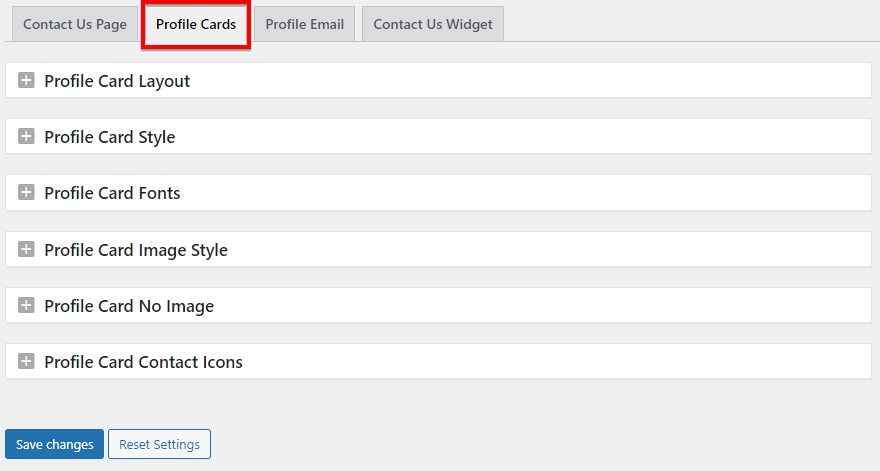
Profile Card Layout

Image Legend
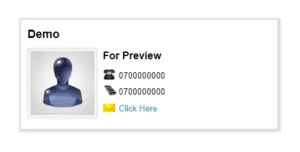
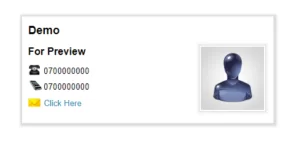
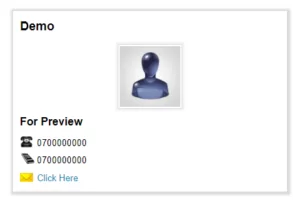
1. Profile Image Position – Set the position of the profile image. Bellow are the 3 layouts for the cards.
2. Profile Image Width – Set as a percentage of total Profile Card width
Profile Card Style
Create a Custom Profile Card Design
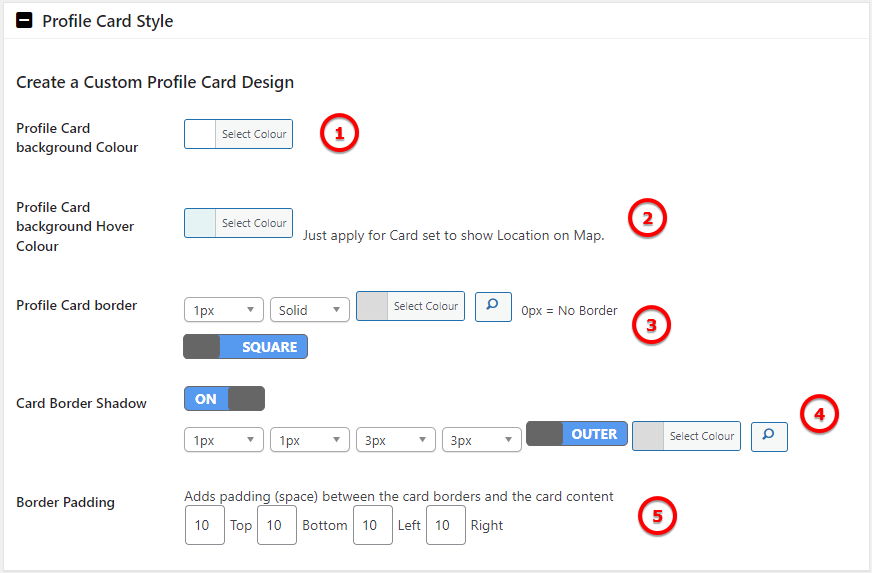
Image Legend
1. Profile Card background Colour – Use the visual colour picker to create a visually pleasing background colour for your Profile Contact card container or just type in a hex number if you have one you want to use. Type in the word transparent and the container will have no colour and show the page background colour / design.
2. Profile Card background Hover Colour – When crossing your mouse courser over the profile card it will show your chosen color. Just apply for Card set to show Location on Map.
3. Profile Card border – Set a border for the profile container card.
4. Card Border Shadow – The Shadow effect is great if you want create a 2D effect with your grids. In other words the shadow makes the grids look like they are sitting on or above the page.
5. Border Padding – Adds padding (space) between the card borders and the card content.
Profile Card Fonts
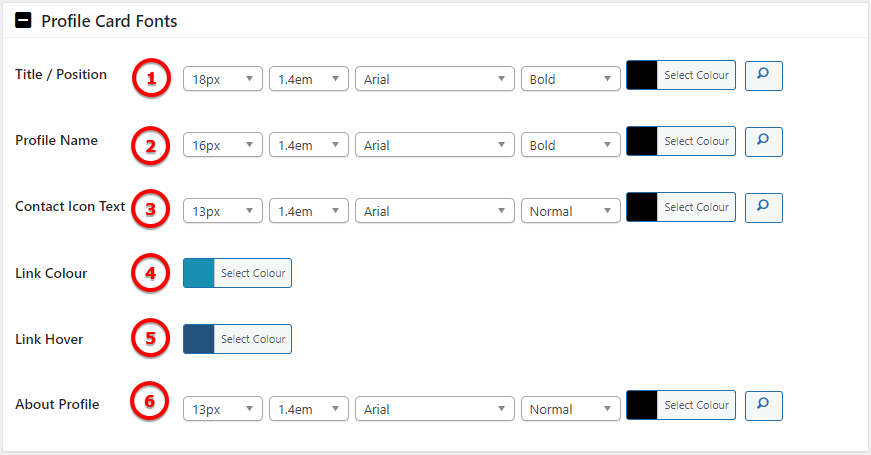
Image Legend
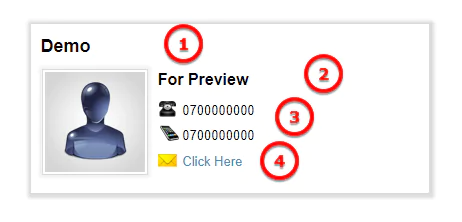
1. Title / Position – Set the font for the title field
2. Profile Name – Set the font for name field
3. Contact Icon Text – Set font for icon text
4. Link Colour – Use the visual colour picker to create a visually pleasing links for the profile cards
5. Link Hover – When crossing your mouse courser over the link it will show your chosen color
6. About Profile – Set font for description field
Profile Card Image Style
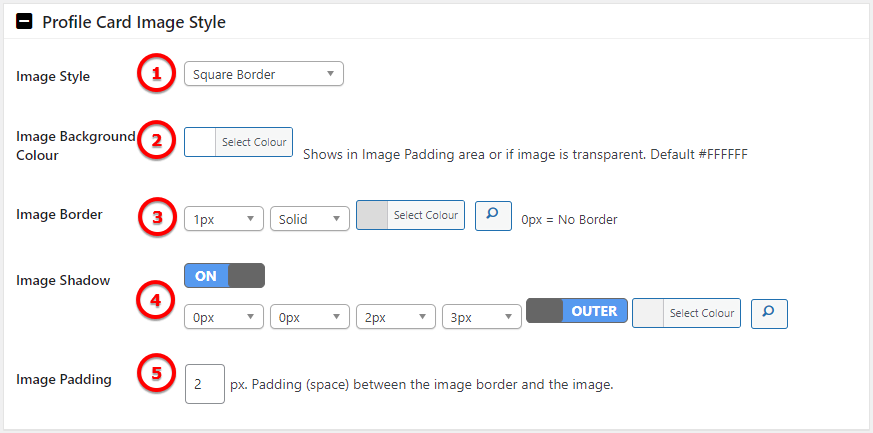
Image Legend
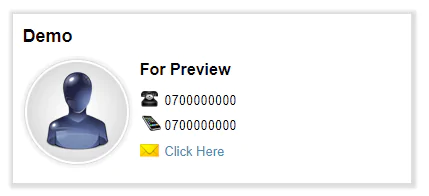
1. Image Style – Use the drop down to select from 3 available image presentations. Rounded Border (Default) | Square Border | Flat Image (no border)
2. Image Background Style – Use the visual colour picker to create a visually pleasing background colour for your image profile container.
3. Image Border – Set a border for the profile image container
4. Image Shadow – The Shadow effect is great if you want create a 2D effect with your grids. In other words the shadow makes the grids look like they are sitting on or above the page.
5. Image Padding – Padding (space) between the image border and the image.
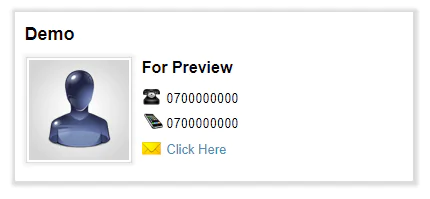
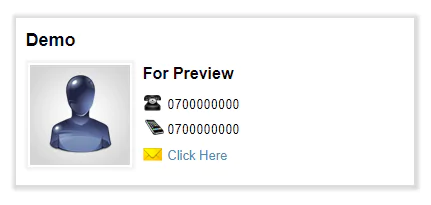
Profile Card No Image
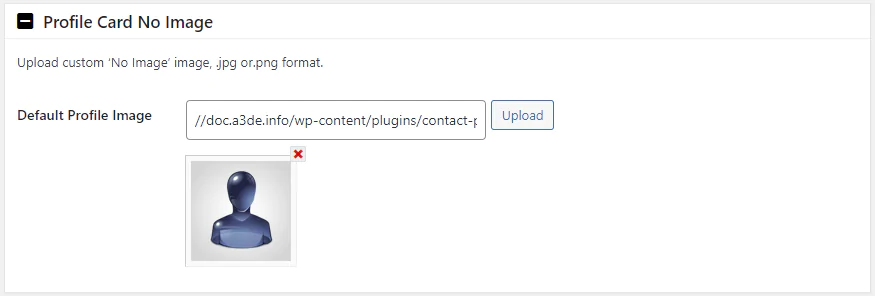
Image Legend
From here you can upload a custom image for the profile cards. Upload custom ‘No Image’ image, .jpg or.png format.
Profile Card Contact Icons
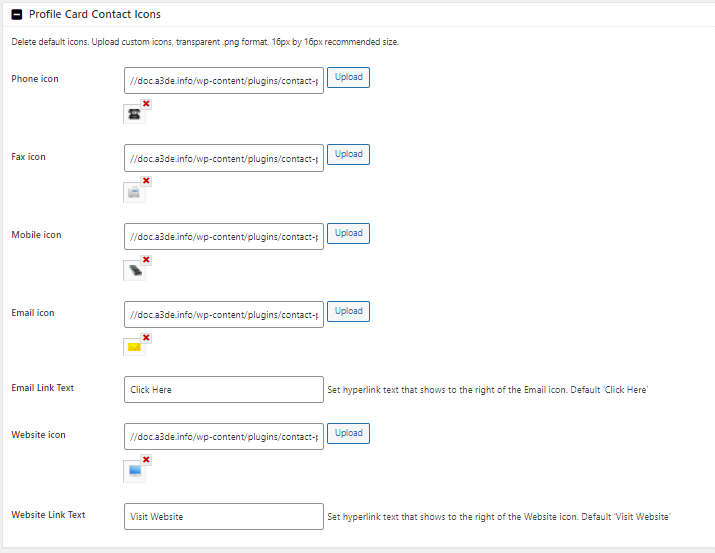
Image Legend
1. Delete default icons. Upload custom icons, transparent .png format, 16px by 16px recommended size.
Profile Email
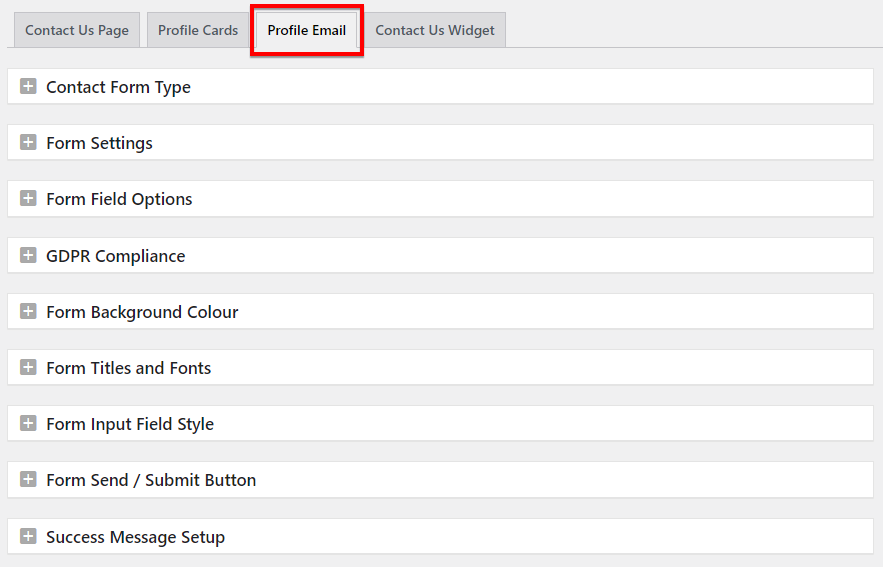
Contact Form Type
*Note – Those 2 form types have separate option. Chosen one will have extra option than the other.

Image Legend
1. Plugins Default Contact Form – This will have the default plugin form.
2. Create form by Shortcode – Add a custom form by adding the shortcode here.
Bellow are the settings for the Default Contact Form
Form Settings
The following options affect the sender (email address and name) used in Profile Email Inquiries.
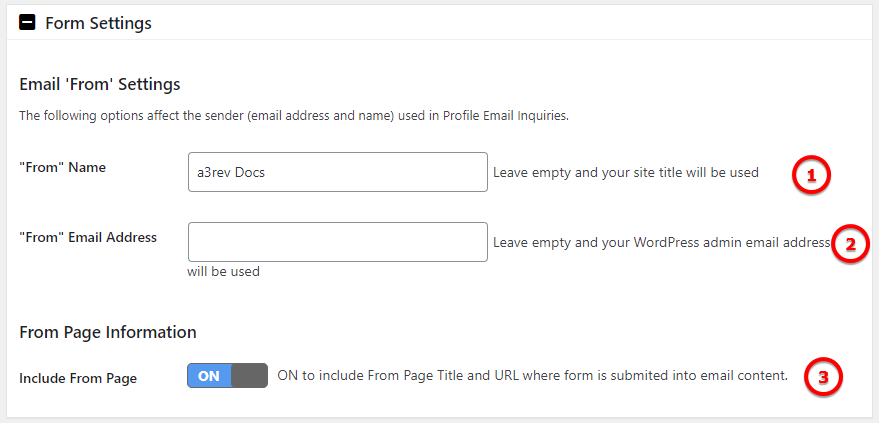
Image Legend
1. “From” Name – Leave empty and your site title will be used
2. “From” Email Address – Leave empty and your WordPress admin email address
3. Include From Page – ON to include From Page Title and URL where form is submited into email content.
Form Field Options
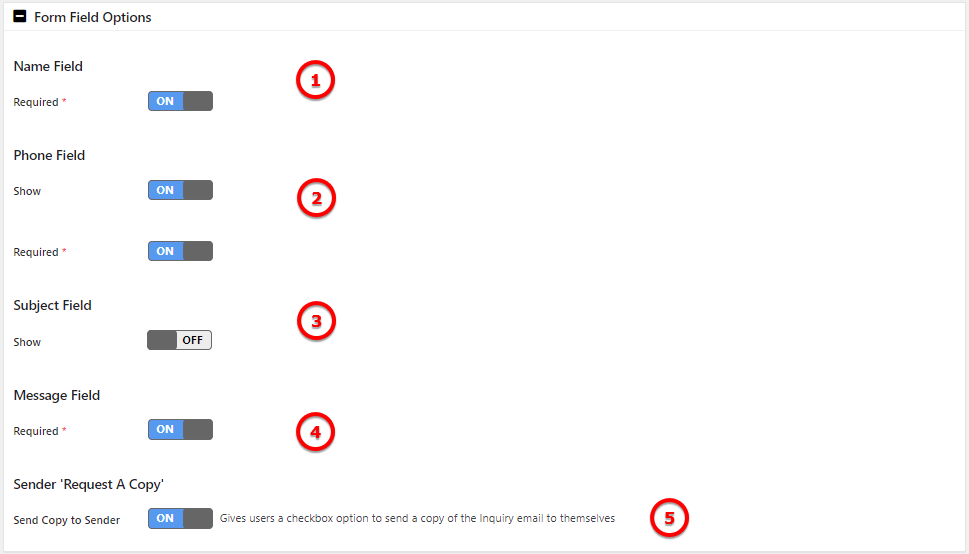
Image Legend
1.
Form Shortcode
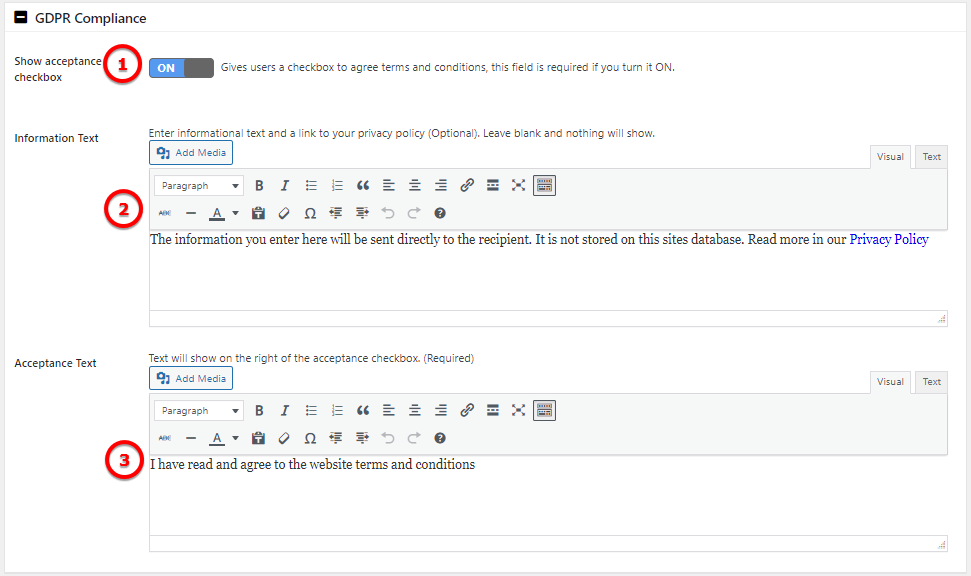
Image Legend
Reset Profiles Form Shortcodes
Form Background Colour

Image Legend
Form Titles and Fonts
Form Input Field Style
Form Send / Submit Button
Success Message Setup
Bellow are the settings for the Create form by Shortcode
