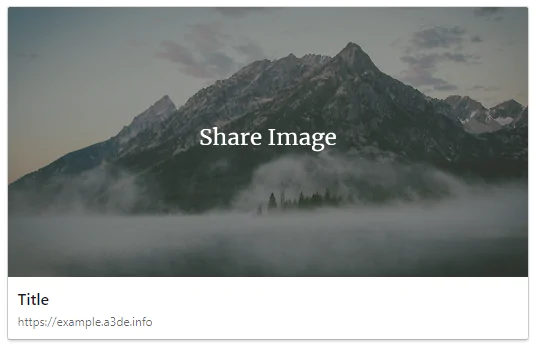
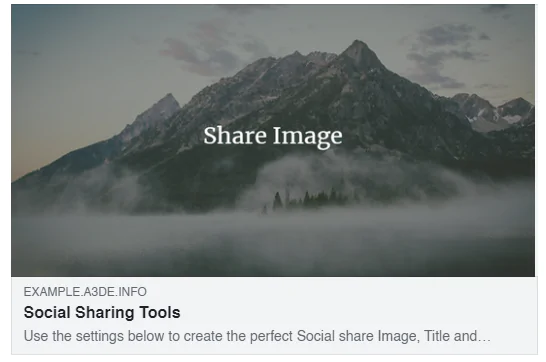
Overview:
Adding a proper social image to your most important pages and the ones you want to share on social media can help you increase brand awareness and attract more visitors to the site. It’s also quite fun! The Social Sharing Tools plugin enhances your WordPress website’s functionality by seamlessly integrating social sharing meta tags into both the Classic and Block Editor interfaces. With minimal setup and no additional settings to configure, this plugin empowers you to effortlessly customize how your posts and pages appear when shared on various social media platforms such as Facebook, X (formerly Twitter), LinkedIn, Discord, and more.


Installing Social Sharing Tools

1. Access the a3 Dashboard Menu.
Social Sharing Tools is available directly from your a3 dashboard.
2. Choose the Social Sharing Tools
Click on the “Install” button next to the plugin’s name.
3. Click “Activate”
Don’t forget to activate the plugin after installation.
4. Integration with Posts and Pages
After installation, the Social Sharing Tools plugin will be readily available within the editor interface of any post or page on your WordPress site.
Usage of the plugin
Let’s begin by selecting the social platform preview. But what if you prefer not to customize your message or media individually for each network? No problem – we’ve got you covered. Our plugin automatically establishes intelligent defaults, leveraging your post’s metadata and featured image to streamline the process.
The social platform to choose from are:
- Discord
- X (former Twitter)
The same principles apply across all platforms, just as demonstrated in our example. Whether it’s Facebook, X (formerly Twitter), LinkedIn, or Discord, you can expect a consistent approach. Our plugin ensures effortless customization, maintaining uniformity while leveraging your post’s metadata and featured image for optimal social sharing on every platform.
Select a social platform to preview

1. Click “Preview image.”
First, you can enhance your post’s visual appeal by uploading a new image. Simply click on “Preview Image” to initiate the process.
2. Free Share Image Creation Tool
Create Image button will open Pablo a free online social media image creation tool. Upload and edit your own image or choose from over 600k royalty free images. Once created download your image to your computer and then use the Upload Image button to add it.
3. Add or remove the image
Upload your share image here, 1024 x 512 pixels size is recommended. If it is smaller, it will show as a small thumbnail on the left with title and description to the right or if it is larger, it will be cropped.
4. Custom Share Title
Leave this empty and the post title will be used or add you custom title.
5. Custom Share Description
Leave this empty and the post extract will be used as the description.
6. Use the debugger tools
Use the debugger tools to set or change the Share Image and or details.
Use the settings below to create the perfect Social share Image, Title, and Description that is displayed when this post/page link is shared on Facebook, LinkedIn, Discord, and X (former Twitter). With these customizations, you can effectively control how your content appears across various social media platforms.
Things to Know!
The LinkedIn and Discord Tabs are Preview only and is not used for editing. LinkedIn and Discord posts/pages share uses Image and Title but not description. These are set from the “Social Share Display Settings” on the Facebook Preview tab.
For Twitter, we offer specific customization options. If you don’t modify these settings, the “Social Share Display Settings” configured for Facebook will be applied when sharing on Twitter. When your content is shared on Twitter, it will showcase the share image with the title displayed in the bottom left corner.
Settings Tab
Disable Open Graph Meta
What are Open Graph Tags? Open Graph meta tags and X (formerly Twitter) cards meta play a crucial role in determining how your posts or pages appear when shared on social media platforms. Without these tags in your site’s header, shared links may display as raw URLs. The og:meta tags are utilized by Facebook, LinkedIn, Discord, X, and other social channels to showcase the title, image, and description when a link is shared.
To ensure optimal social sharing functionality when your links are shared on social media platforms, it’s essential for your site to have Open Graph tags in the header. Our plugin can seamlessly add these tags if they’re not already present. If you’re unsure whether your site has Open Graph tags, you can enable them below. See bellow the guide on how to check if the og tags are already present on your site.

How to Check your sites og meta
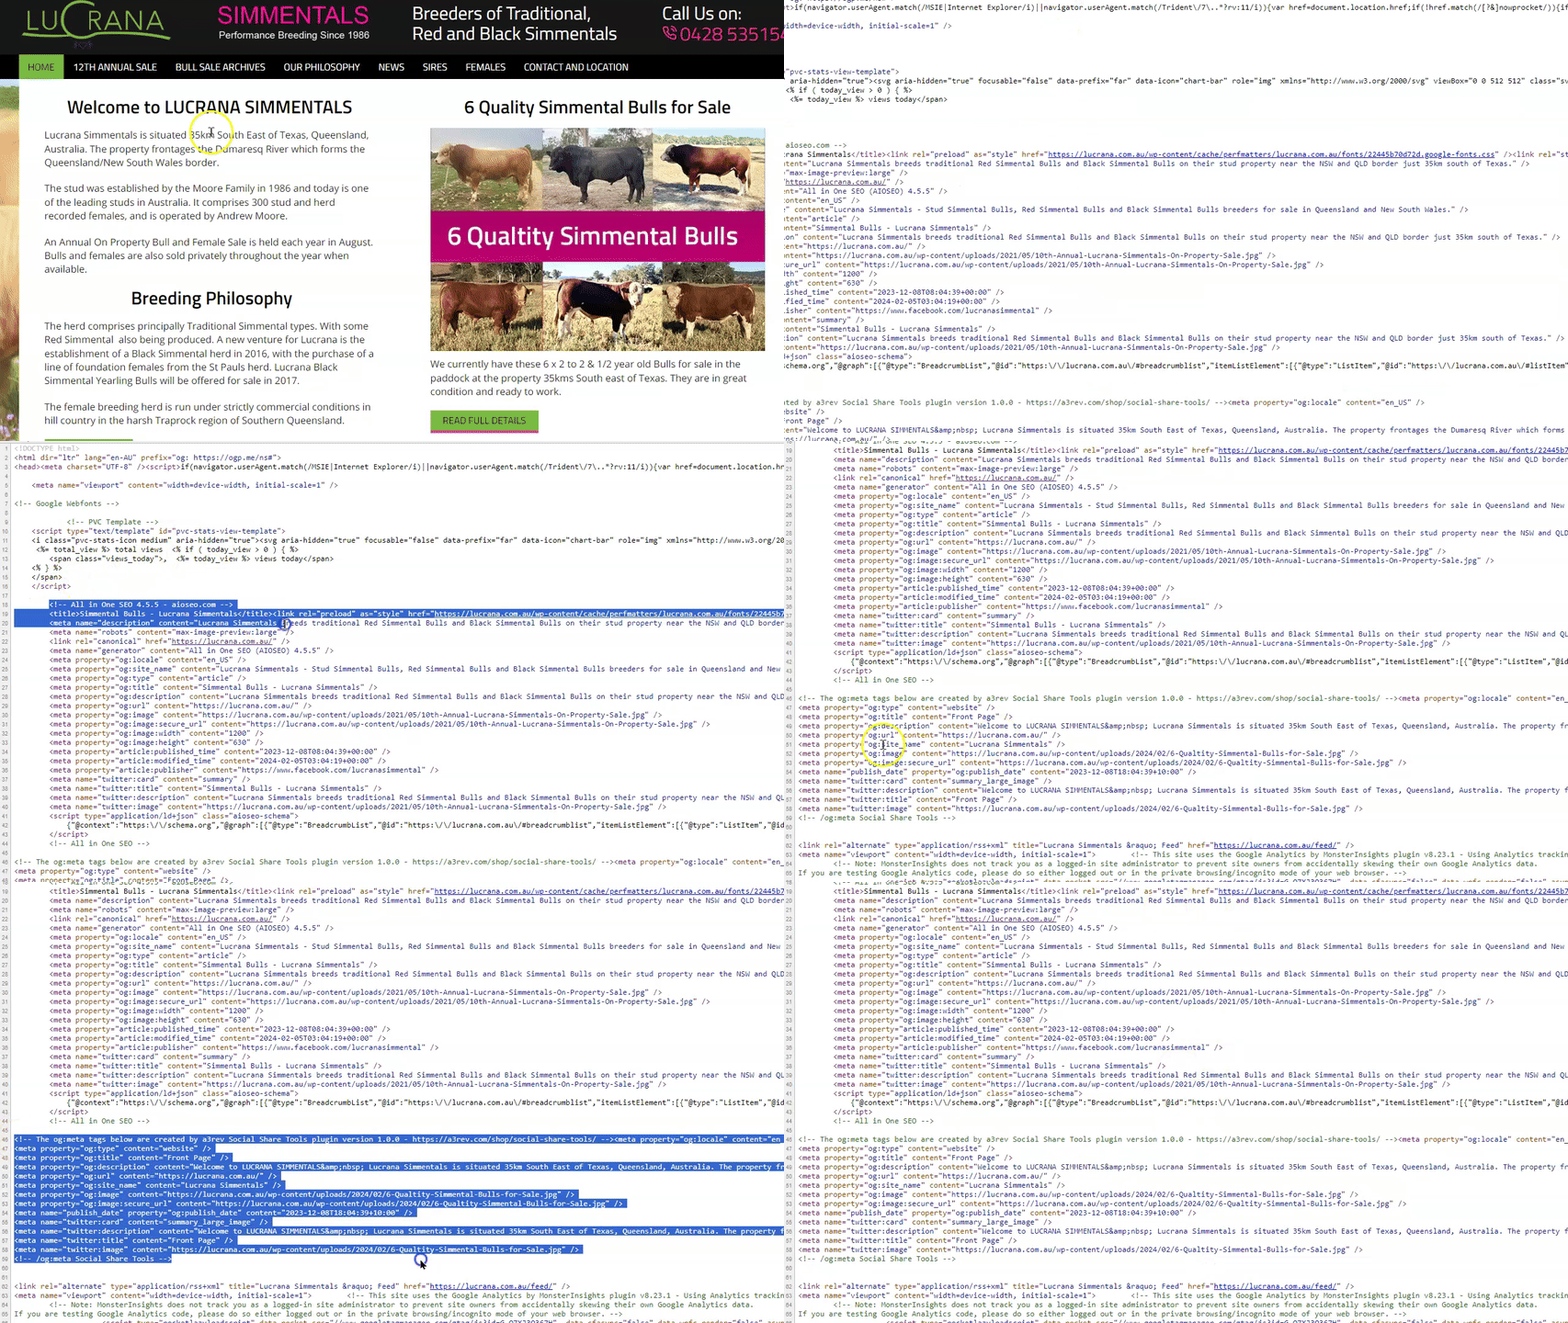
To ensure that your site’s Open Graph (OG) meta tags are properly configured, follow these steps:
- View Page Source:
- Go to your sites home page.
- Right-click and Select “View Page Source”:
- Right-click anywhere on the webpage and from the pop up select “View Page Source”. This will open the page’s HTML source code in a new tab or window.
- Search for OG Meta Tags:
- Any og;meta tags will be in your sites header, so they are easy to find.
- If you can’t see any you can use the browser’s search function (usually accessible by pressing Ctrl + F or Command + F) and search for terms like “og:title,” “og:image,” and “og:description.”
- Verify OG Meta Tags Origin:
- Usually whichever plugin has created the tags will be identified by a comment. See video of example below.
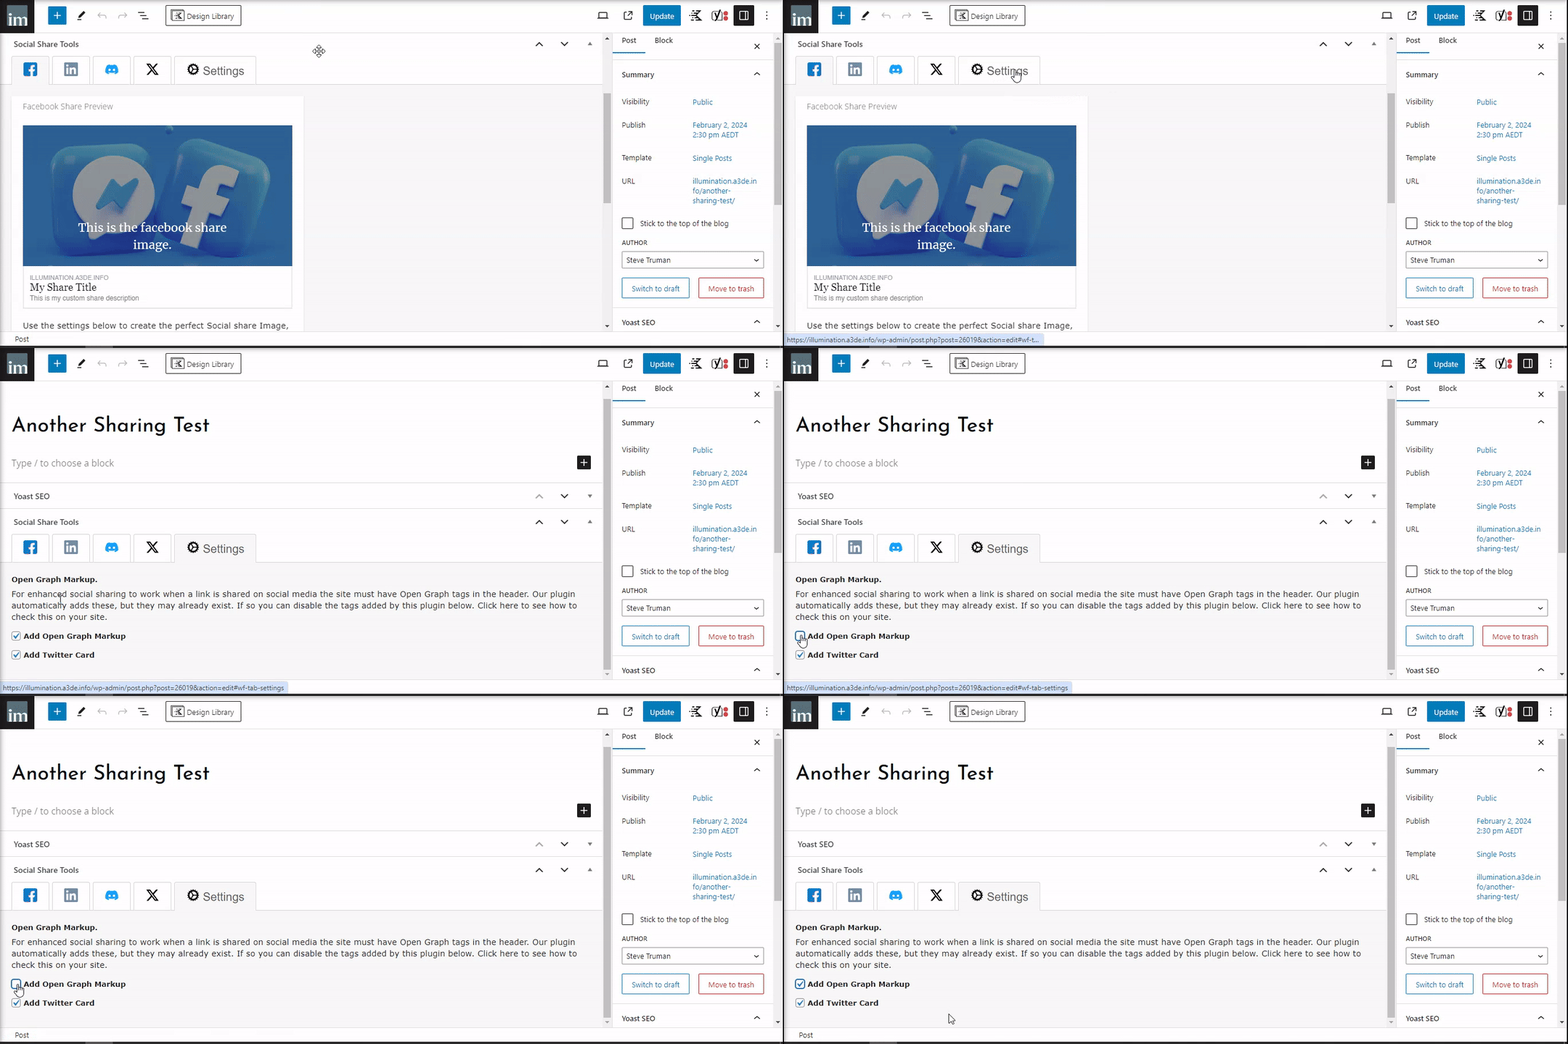
By following these steps, you can confirm that your site’s OG meta tags are properly set up, ensuring optimal presentation when your content is shared on social media platforms. In our video we have both Open Graph tags activate. Uncheck the setting: “Add Open Graph Markup” to avoid duplication.

Free Share Image Creation Tool
Create Image button will open Pablo a free online social media image creation tool. Upload and edit your own image or choose from over 600k royalty free images. Once created download your image to your computer and then use the Add Image button to add it.
In our example, we’ll keep it simple. However, feel free to explore additional settings in this tool. For now, we’ll just add text over the image.

1. Launch Pablo free online tool
Clicking the “Create Image” button will launch Pablo, an intuitive and free online tool for crafting captivating social media visuals. If you opt to upload your own image, it’s crucial to ensure it adheres to specific dimensions: precisely 1024 x 512 pixels. Larger images will not resize; instead, they will be cropped, potentially altering the intended composition.
2. Upload your image
Once we click that button a new tab with Pablo app will open. Search from over 600k royalty free images or upload your own image.
3. Select the desire image
After discovering the perfect image that resonates with your vision, simply select it with a click, initiating the next phase of your creative journey.
4. Style the image with background filters
To customize your image further, either remove the current background filter entirely or opt for a different one by selecting from the available options.
5. Remove the background filters
Opt for the “None” option to gracefully strip away any background filter.
6. Add your custom text
Embellish your image with custom text, but exercise restraint to avoid overwhelming it with excessive words. Remember, Facebook may limit the visibility of images laden with too much text.
7. Click “Share & Download”
To download your newly crafted image, simply click on the “Share and Download” button.
8. Download your image
Proceed by clicking on the “Download” button, marking the final step.
9. See the results
Upon completion of the upload process, the Image Preview placeholder will display your newly uploaded image.
Sharing Debugger
Share Debugger is a powerful tool akin to Facebook Debugger, designed to help you troubleshoot and optimize how your content appears when shared across various social media platforms. These social networks put the result in memory (cache), if you update your Open Graph image (share image) you will have to use their tools to force the new “scarping” of the page and force cache update of the page:

1. Social Sharing Tools Debugger
This guide will walk you through the steps to perform a Debugger. You will learn how to use the Facebook Debugger and LinkedIn Debugger features in the Social Sharing Tool plugin.
2. Click “Facebook Debugger”
Utilize Facebook’s Debugger tools to adjust how your content appears when shared. You can easily set or modify the image and details to ensure they look just right for your audience.
3. Switch to “developers.facebook.com”
The Facebook Debugger will open in a new tab. Click on “Debug” and proceed with the fetch if directed to do so.
4. Click “Scrap Again”
“Time Scraped” refers to the moment Facebook last retrieved information about a specific URL when using the Facebook Debugger tool. Ensure you’re viewing the most recent update by clicking on that button.
5. Content preview
This is the preview card for your sharing, displaying how your content will appear when shared on Facebook.
6. Select LinkedIn tab
Utilize LinkedIn’s debugger tools to manage the LinkedIn Post Share Cache. This allows you to set or refresh the information associated with your shared posts on the platform.
7. LinkedIn
Similarly to the Facebook Debugger, when you click the button, a new tab will open, directing you to the LinkedIn Post Inspector. Here, you can inspect the link and preview the results to ensure your shared content appears as intended on LinkedIn.
This is the preview card for your sharing, displaying how your content will appear when shared on LinkedIn.
Troubleshooting
Working with Yoast SEO
If you’re using the Yoast SEO plugin, it automatically generates Open Graph (OG) tags. Therefore, you don’t need to use our plugin to add them again. Instead, ensure that you add the custom title and description to the Yoast Social settings. By doing so, Yoast SEO will utilize its tags while displaying the correct title and description on social media platforms.

