Getting Started
The a3 Icon Block allows you to configure icons in many ways. Setting up and style the icon block is very simple!
The purpose of the a3 Icon Gutenberg Block is to create catchy lists like: services, amenities, projects or any kind of content.
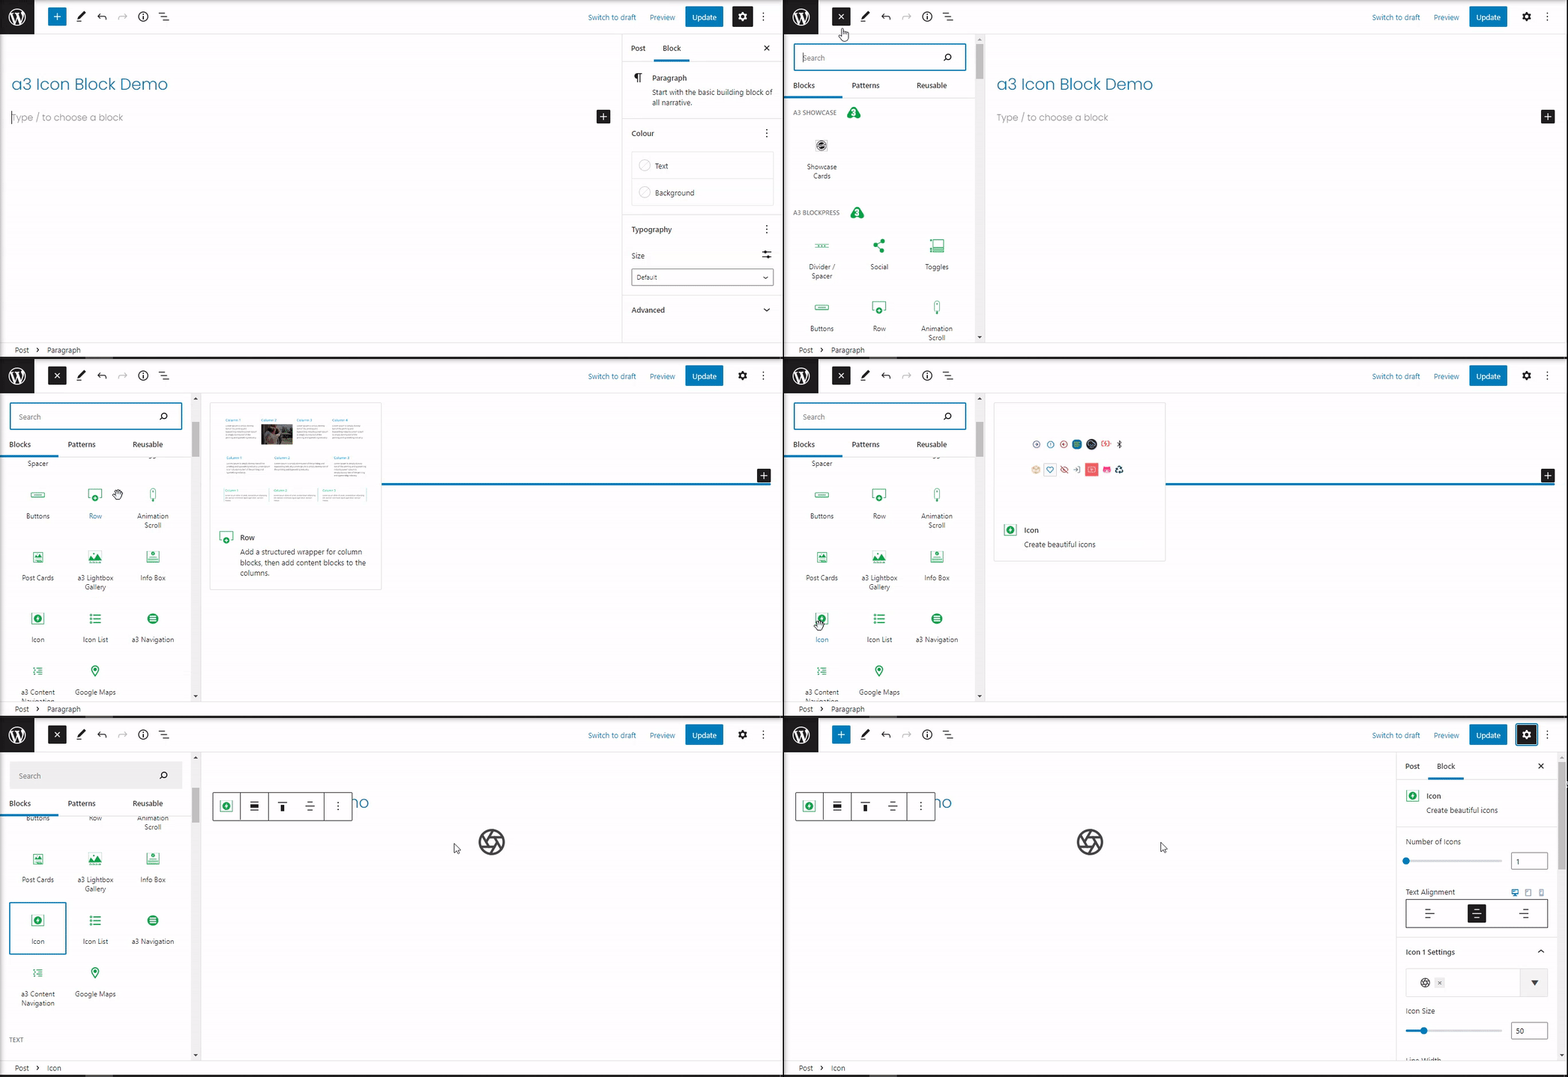
Firstly, select the icon block from your a3 blocks list.
Icon General Settings
Let’s have a look at the main settings and features of this block.
First setting that we have is to set the amount of icons you’d like to show within the block. You can have from 1 to a maximum of 10 icons. Also there is a option to set the Alignment from left, right or center on all devices: Desktop, Tablet or Mobile.
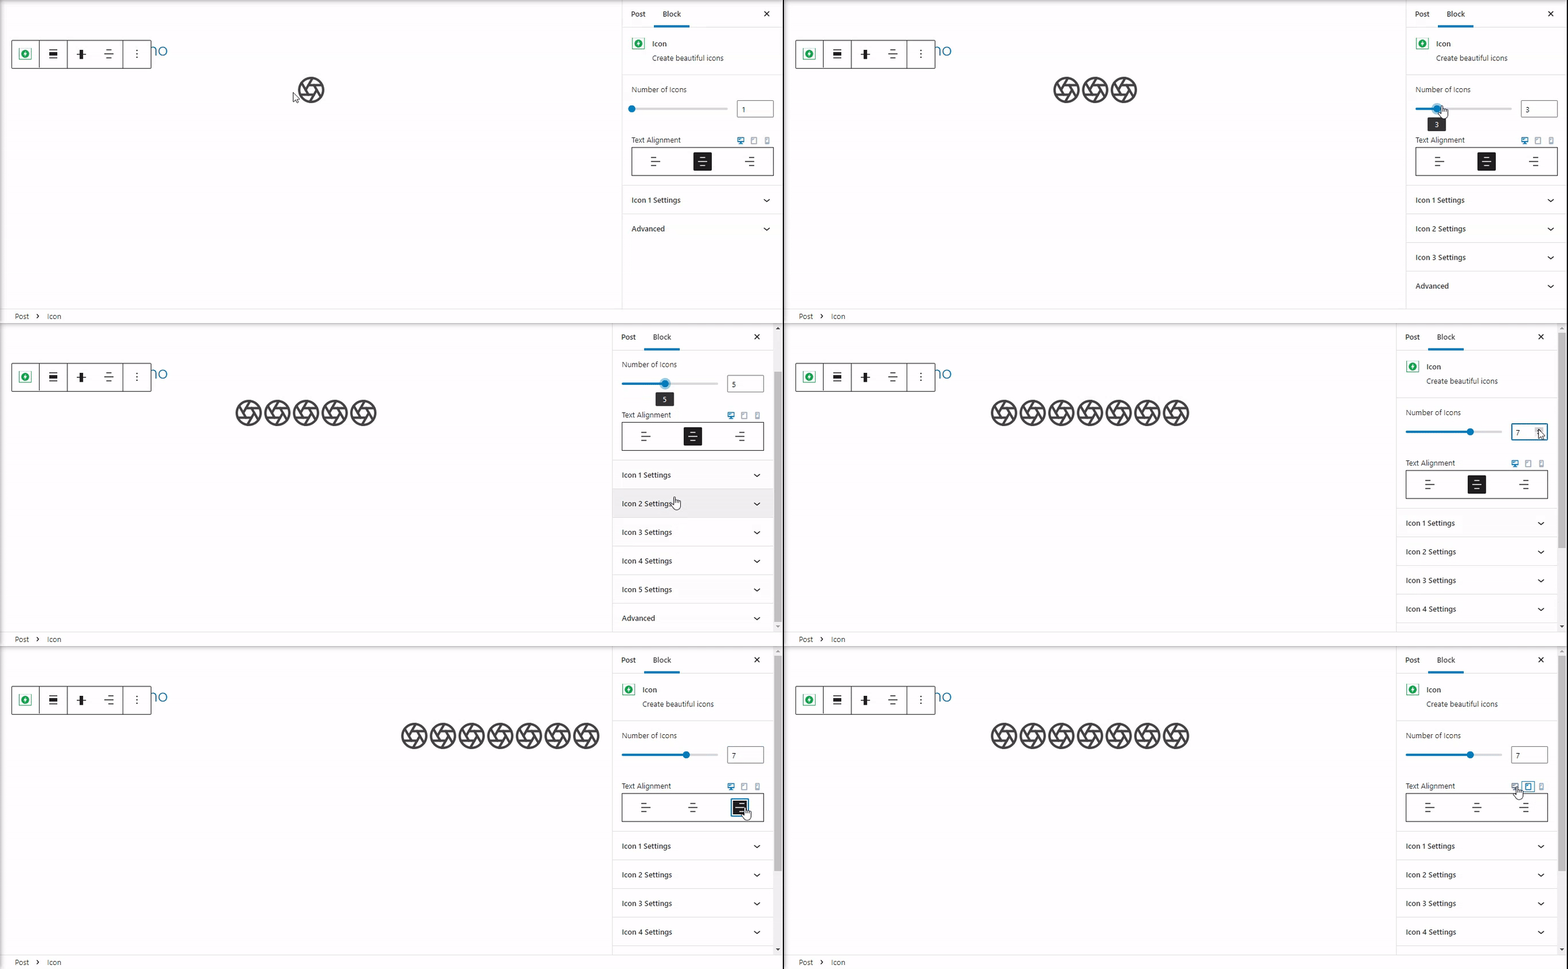
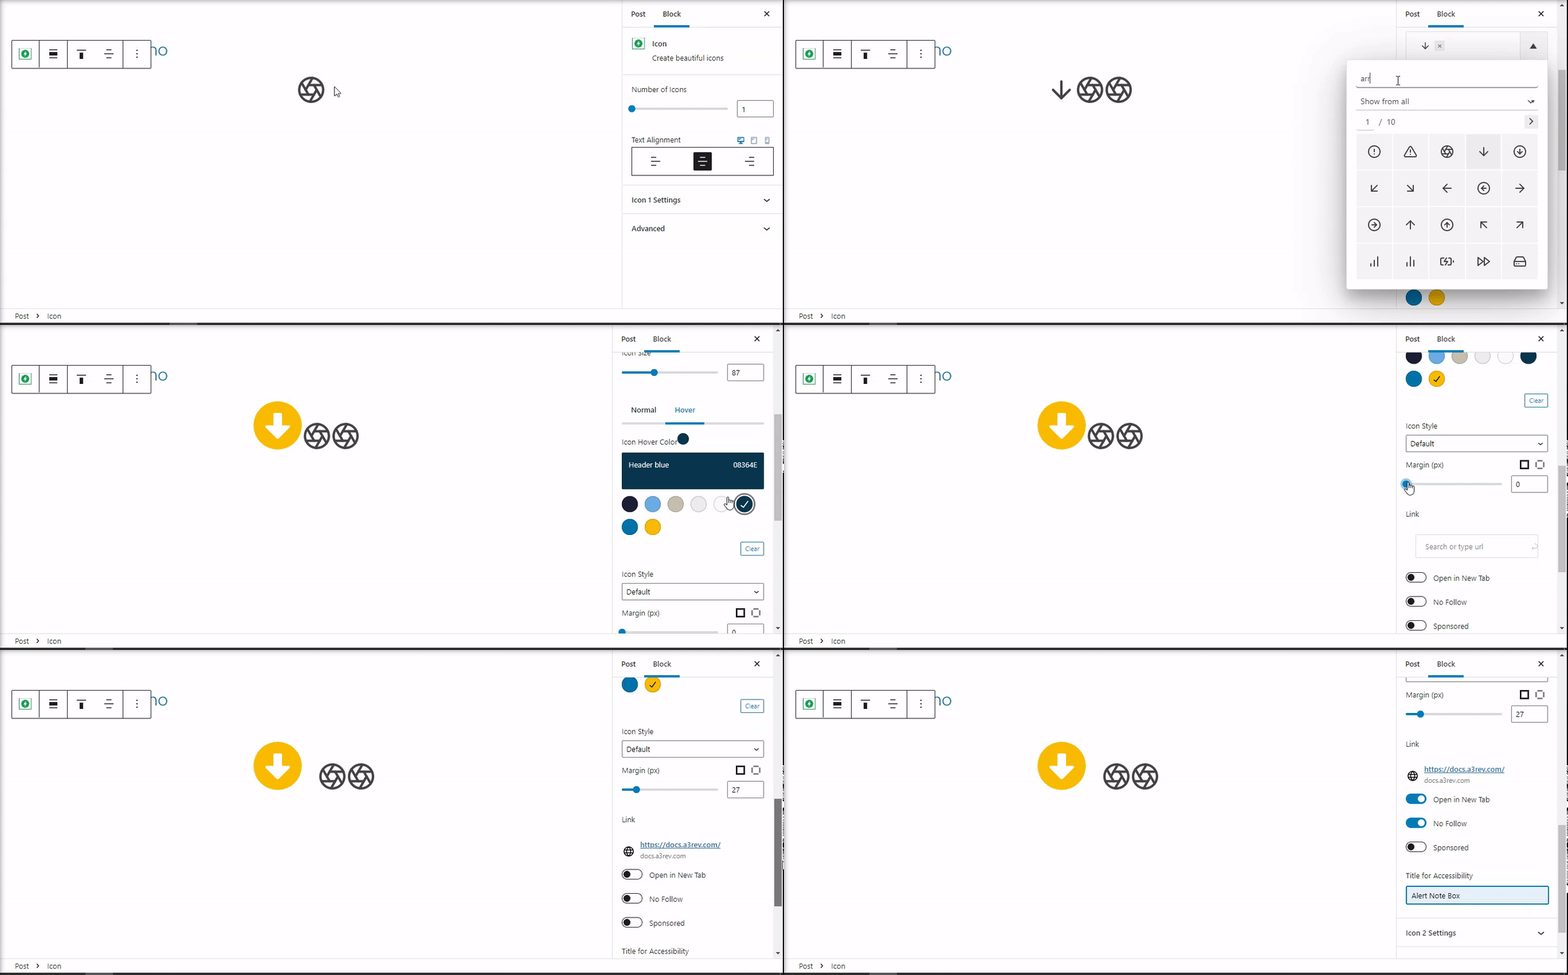
When multiple icons are chosen, you need to edit them individually by opening each icon’s settings. Select which Icon you’d like to edit by opening its respective icon settings:
Icons Style
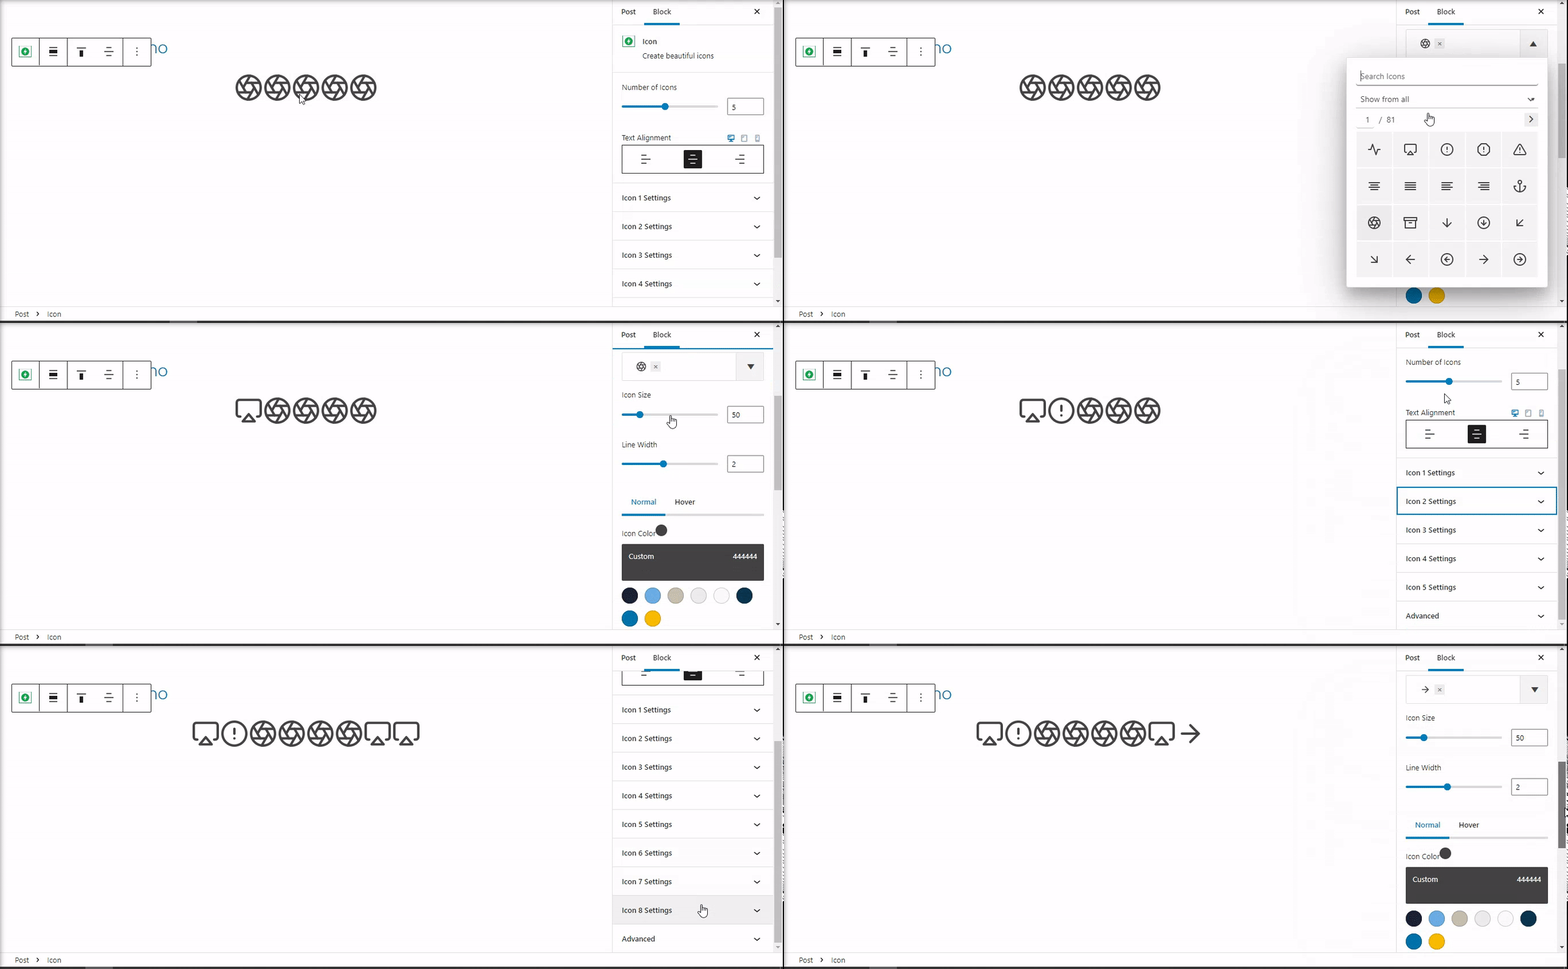
You will be able to customize it with the way you want as you will have the option to choose from Font Awesome icons list.
Each icon have individual settings such as:
- Choose a icon – Click on the box and choose from 81 icons.
- Icon Size – Set the size of the icon by dragging the bar or enter a number.
- Line Width – Make your icon look thinner or weightier.
- Color / Hover Color – Choose a color scheme for icons.
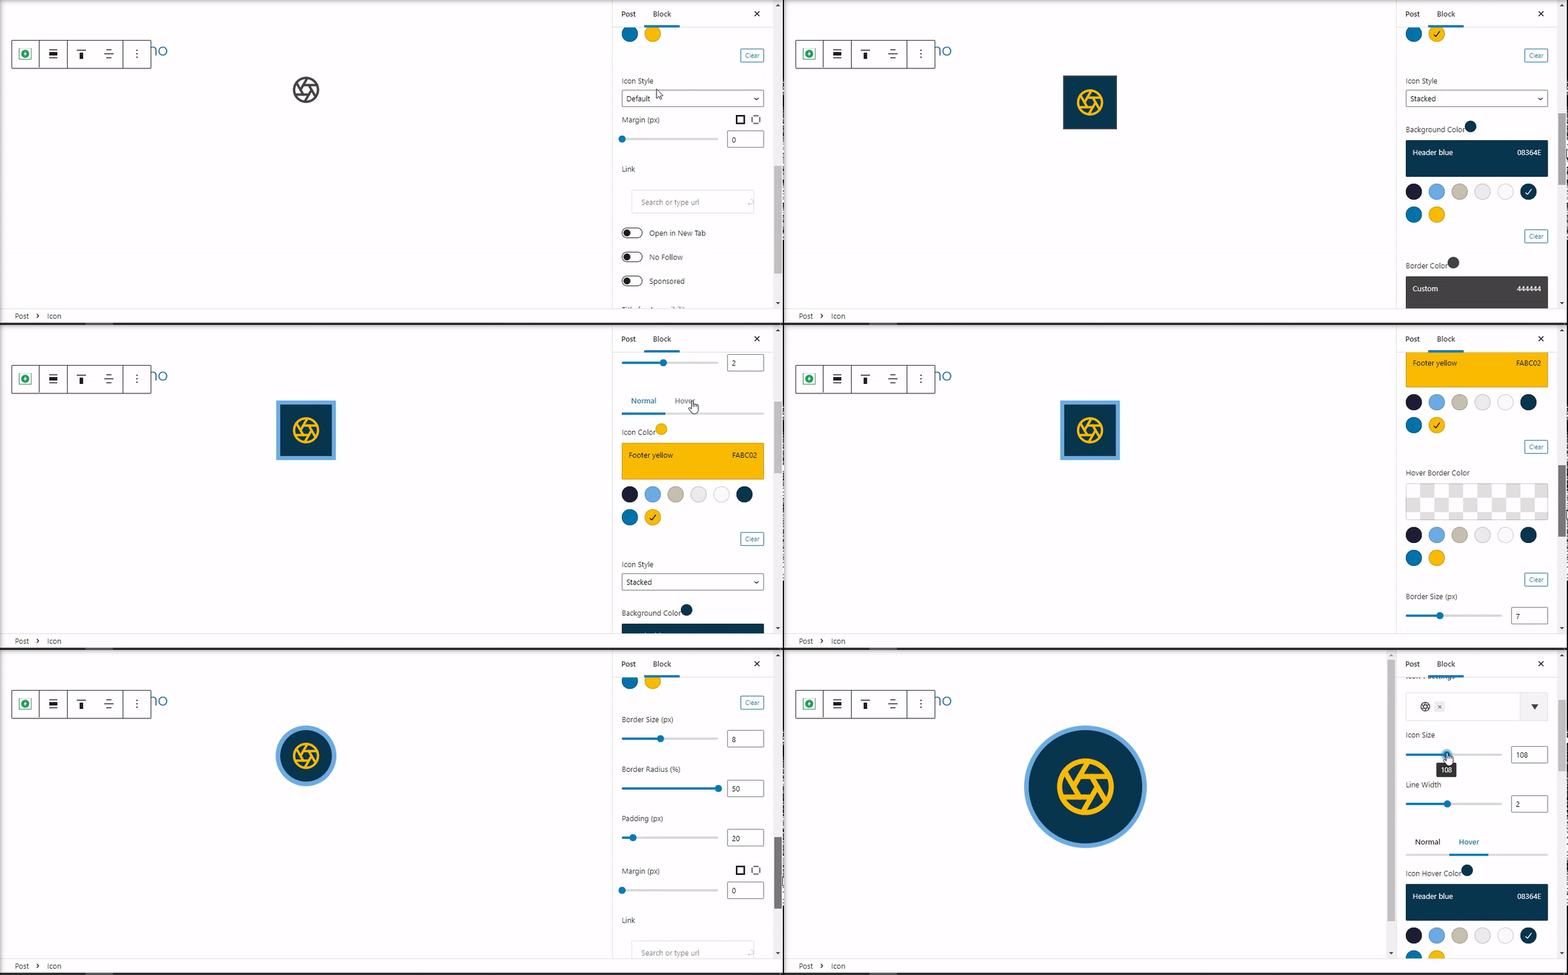
- Icon Style – Decide on the icon shape (default or stacked).
- Margin – Apply margin settings to set the spacing between a row of icons and create a perfectly aligned set of icons.
- Link – Link icons to external pages.
- Title for Accessibility – Add a title for the icon when hover over it will show.
Stacked Image Style
You can add a background, border or make a circle icon with Stacked style. Like you see in the bellow example the possibilities are unlimited.
Advanced
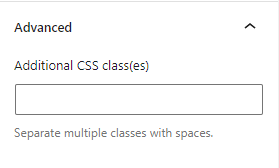
The advanced tab lets you add a CSS class to your block, allowing you to write custom CSS and style the block as you see fit.
